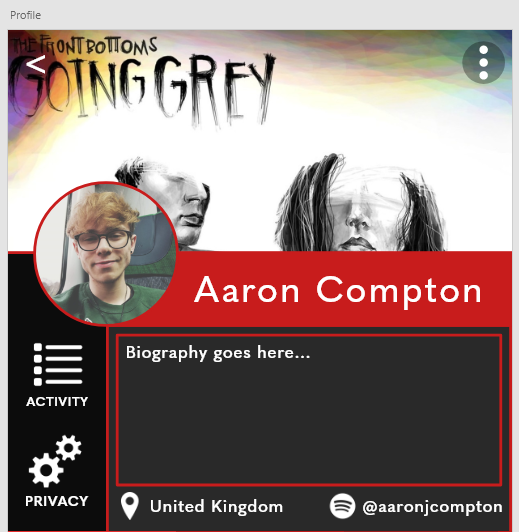
To create the user profile, I started by placing areas for the profile and cover photos. These would dominate the header of the screen but still provide enough room for information. I was a little wary on placement of certain elements, such as the user’s name and their information.
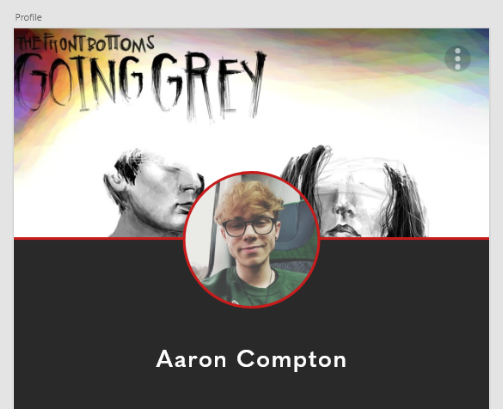
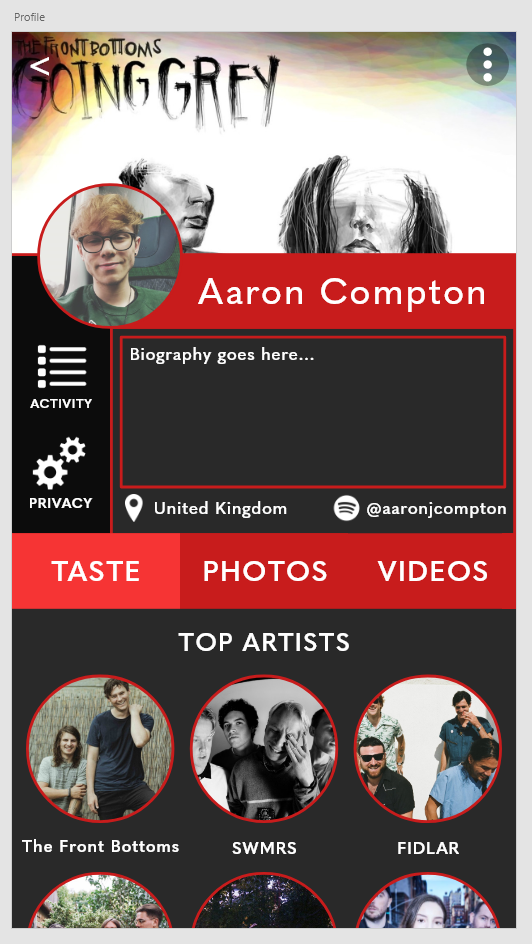
Ultimately I decided to experiment a little bit and use placement that I hadn’t seen used before. The placement below is what I ended up settling on, leaving plenty of room for the user’s information and some quick shortcuts to privacy and activity settings. I also decided to add a Spotify handle feature, which would theoretically allow users to share their Spotify activity within the app.
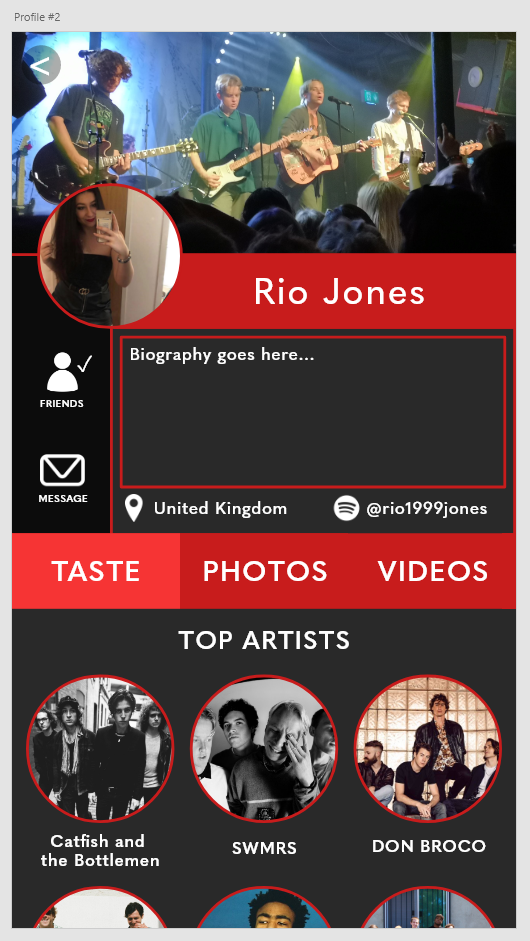
To finish the user profile, I decided to opt for a more visual approach rather than listing information like other social media apps tend to do. I started with a music taste related section, allowing the user to choose their top artists and display them on their profile, followed by a photos and videos tab that would allow users to share their concert photos and videos.
I also decided to create a second user profile to later implement a messaging screen for the app. This was done by copying the first user profile and changing the personalised elements below, including replacing the activity and privacy settings with a message indicator.