APPlying APPtitude – The Principles of User Interface & User Experience

The user interface (UI) governs what the user sees – the series of screens, pages and other visual elements that allow the user to interact with an app. A user interface allows a user to work with a computer via visual elements as opposed to complex programming languages – first introduced in the early 1980s by computer scientists at Xerox PARC and brought to the user’s home by Apple with the Macintosh PC in 1984, the demand for personal computers with an accessible UI began, thus creating the role of a UI Designer. The UI Designer’s role has evolved as technology has grown, and now UI can be seen on smartphones, in virtual or augmented reality, and on voice, gesture and light applications (zero UI).

User experience (UX) governs how users feel during their interactions with applications, products and services, and how they feel afterwards. UX Designers need to ensure that a company’s product meets the needs of a customer in order to ensure they have a good experience and thus create a good public image for the company and increase potential sales. As user interface design has evolved, so has user experience design – UX and UI designers work closely together in order to ensure that a user can work an app with ease and have a good experience whilst doing so.

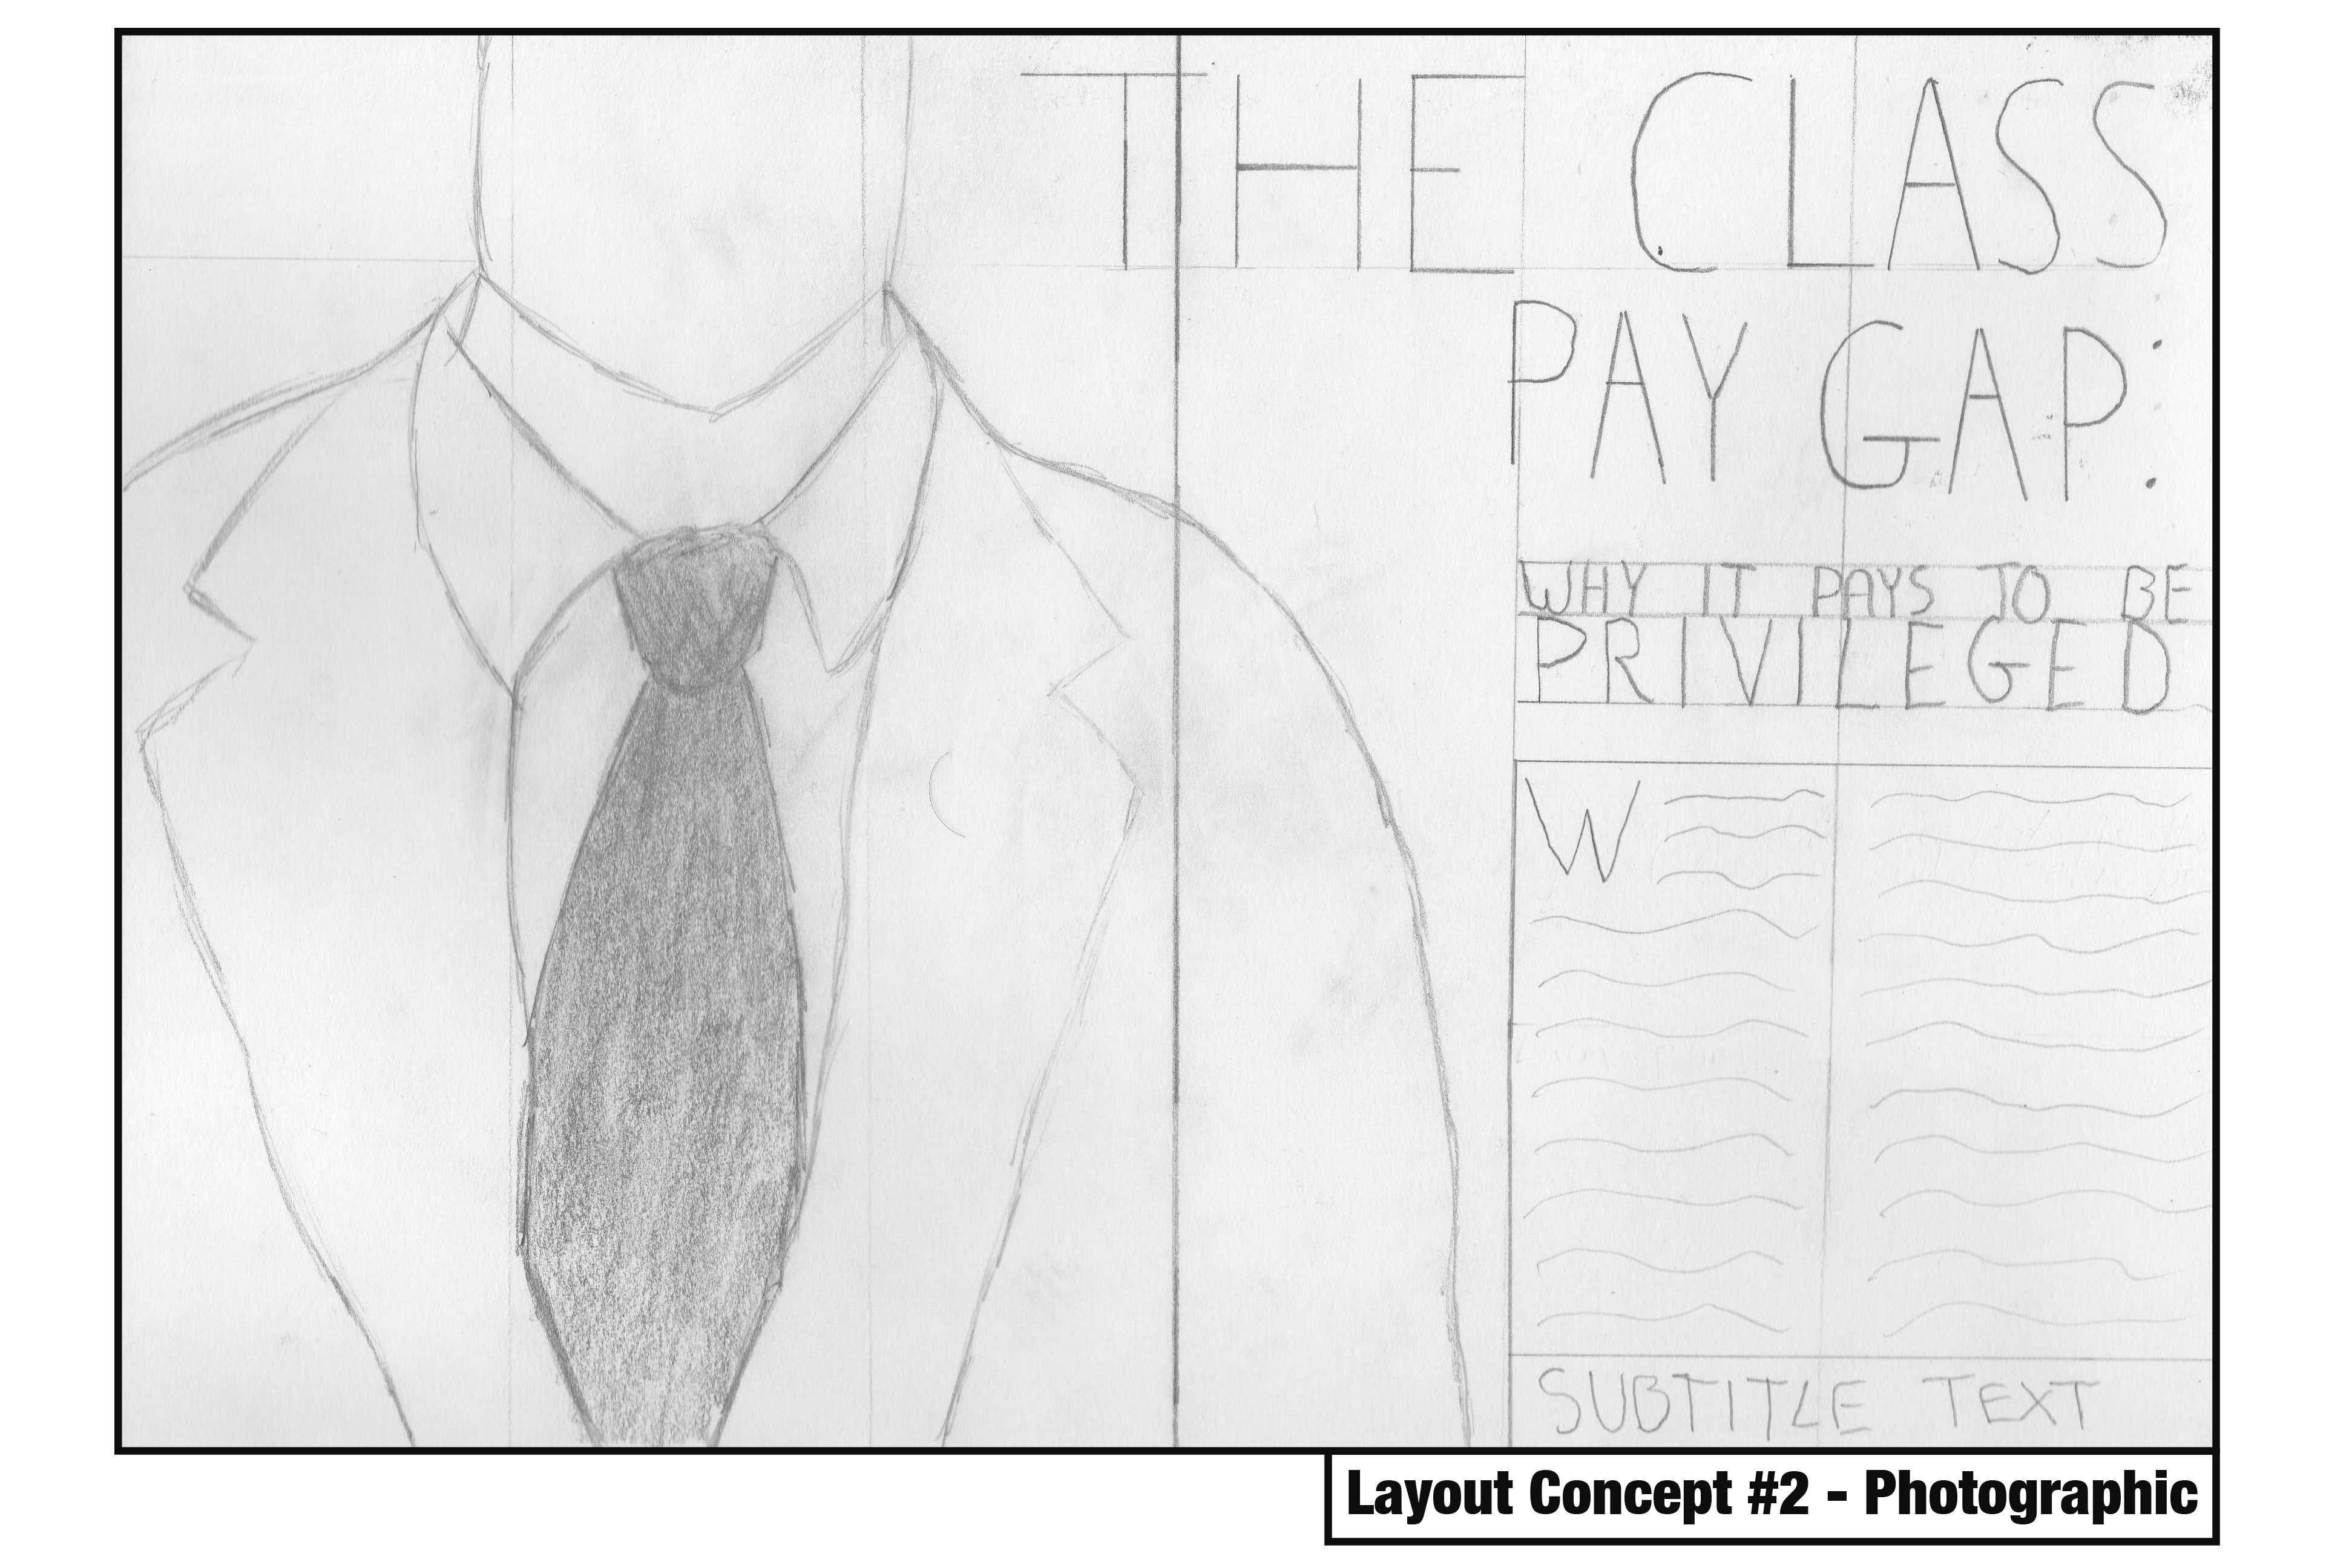
In order to successfully meet the APPlying APPtitude brief, I need to ensure my app follows the basic principles of UX/UI design:

  • Show the value of the app upfront – place calls to action up front, highlighting key features in context at an appropriate place within the UI so they are easy to find, resulting in a stronger user experience.
  • Allow users to “go back” in one step – users should be able to retrace their steps through the UI as opposed to starting over, which often results in lost data and a frustrated user experience.
  • Create frictionless transitions between mobile applications and the mobile website – frustrations can occur when the app forces a user to move to the web to complete an action, especially when the look and feel of a website is completely different to the app. A fast and frictionless transition and a similar web UI can help reduce these frustrations.
  • Speak the same language as the users – Unknown jargon creates a negative experience for a user as it will more than likely confuse them, so it is essential to use terminology that the user will understand.
  • Let the user control the level of zoom – Allow users to zoom in on certain media as they prefer as opposed to setting a level of magnification to ensure a better user experience.
  • Organise and label menu categories – Menu categories should be clear with no overlap, matching a user’s mental model.
  • Provide text labels and visual keys – The majority of iconography within applications require labels to ensure proper interpretation and to increase the likelihood of them being used.

Changing Faces – The First Double Page Spread

I began setting up my editorial piece by creating an A3 document within Adobe InDesign. I made each page have a grid system with 8 columns to ensure a strong and consistent visual hierarchy across my editorial.

I began working on the first page heavily inspired by my typographical concept, opting to use the TypeKit font Benton Modern Display for a decorative, formal serif typeface. I also sketched a suit and tie graphic and rendered it in Photoshop then Illustrator to create a high quality 300DPI CMYK vector graphic for print.

I decided to experiment a little bit and fill up some of the white space by contrasting the word “GAP” against a black background. I also decided to add the article’s subheading here in the smaller, bold sans serif font Quasimodo, centre-aligned to add balance to the overall composition of the page.

I started the article by pasting in the body text, initially deciding to divide the text across two columns using the font Cambria in 9pt. I pasted the rest of the headline vertically down the latter three columns, contrasting white against black once again to replicate the formal composition. However, I felt this looked very bland to start with and I struggled to create development beyond this point. To fix this, I scaled the text up to 11pt, added a drop cap of four lines to the opening paragraph and spread the paragraph across four columns with no divide. I justified all of the text to reduce rags and tabbed in at the start of each new paragraph to add a clean finish to the text. I added the authors’ names in a small box above the text alongside a graphic to divide the white space further, and added more red to the page in the form of a decorative margin.

I then added a few extra editorial features to this page to finalise it. These features included a bold heading section, detailing the theme of the next section of the article, as well as a highlight from the extract. To add context to the piece, I finally added a page number at the bottom of the page, centred in alignment with the text.

Changing Faces – Initial Editorial Concepts

Following some sufficient research, I began working on some initial concepts for my editorial piece. Within these concepts, I aimed to pin down the direction in which to take my piece – whether it would be typographical, illustrative or photographic in nature (or a mix), what grid systems to use, and what relevant type and image to include. I decided to focus only on the first double page spread within these concepts so I could work out where I was taking the editorial piece before designing the other two spreads.

Within this concept, I focused on an illustrative approach, using a grid system of 5 columns per page. Within the front page, I decided to include the headline and subheading scaled appropriately around an illustrative image of a tie to leave some effective white space. I felt as though this was a strong design decision as it’s quite tidy, reflective of the nature of the article, and follows good editorial design principles. The second page is where the true article begins, and where I feel the concept loses its effectiveness. The distribution of body text with images and subtitles is messy and overcrowds the page, leaving minimal room for white space.

This concept focuses on a photographic approach with a simple three-column grid system per page. This spread would be dominated with a photograph of an individual in a suit, leaving very little white space in favour of catching the eye. The headline would also spread across both pages and be the second element within the path of the eye, before moving onto the subheading and body text respectively. The visual hierarchy within this concept is quite strong, but its simplicity with three columns may be hard to spread a nearly three-thousand word article across without ruining the pacing. I would also need to consider photographing my own image which may prove more challenging than illustrative and typographic approaches.

The final concept focuses on a typographical approach with a four-column grid system per page. What’s immediately noticeable here is the use of white space on the first page which draws attention to the typographical elements. The subheading is almost as dominant as the headline on the second page, but its rotated orientation adds a bit of flavour to the concept and makes it a bit more enjoyable. The grid system allows for a reasonable amount of body text per page whilst leaving room for some interesting imagery or larger typographical elements, so the pacing wouldn’t suffer too much here.

Reflecting on these concepts, I am drawn in particular to the typographic approach, but I understand that there are elements from the illustrative and photographic approaches that work really well – such as the use of white space and positioning of certain elements. These concepts have created a strong foundation in which to build my editorial piece on, and I am sure as this project continues the design will continue to evolve and incorporate successful elements from all three of these.

Changing Faces – The Principles of Editorial Design

Following the deconstruction of the article I’m visually representing and the identification of my primary target audience – the upper class – I decided to focus on identifying what editorial design actually is, and examine some techniques used within successful pieces so I can incorporate them within my own practices. At this early stage in the design process, it was crucial to identify strengths and weaknesses to maintain a high level of quality throughout my development.

bostondrib

I began by looking at a website focused on visual communication named Design Your Way, in particular, an article that unpacks editorial design and shows off some strong examples whilst providing tips for designers aiming to create their own piece.

At its basics, editorial design is the combination of layout, composition, imagery and typography to create a strong page (or often a double-page spread) for use within a magazine, newspaper or article. It’s also worth mentioning that editorial design is becoming increasingly challenging due to the rising digital market – as my brief is focused on editorial design for print, this is an obstacle I will need to keep in mind, and can perhaps identify successful features of digital editorial design that would also work well in print. The first step of creating a successful editorial piece is to understand who exactly will be reading the editorial and to design for them. I covered this step earlier in the development cycle – I know I’m aiming to design for the upper class and have to design my editorial around that market. Creating a strong visual identity for the piece is extremely important, as the design needs to catch the eye and keep a reader engaged with its contents. Designing the cover (or in my case, the first double page spread) before anything else is a good way to create a strong identity and ensure it captivates attention, so the following pages can be at the peak of their visual strength. Using a strong grid system is crucial, and the way the grid system is set up can entirely affect the overall feeling of the editorial piece. As my focus is on the upper class, I’m aiming to use a symmetrical layout for a more formal composition, but I will experiment with different grid systems after I’ve created a few initial concepts. Typographical hierarchy is a make-or-break within an editorial piece such as this, and the choice of typeface and scaling within the piece will determine how well it appeals to my target market and the overall quality of composition. It’s also worth noting that sometimes less is more – the use of white space can make a piece a lot stronger, and this something I intend to experiment with considering my target market. Finally, pacing is crucial to keeping a reader engaged. I’m designing six pages – three double page spreads – and my initial plan is to create an eye-catching opener spread, then give the readers a little room to breathe within the middle spread, before closing the piece with a memorable final spread.

Aim-For-A-Vibrant-Compositi.jpg

Source: Bogdan Sandu. 2018. Editorial design: definition, tips, and examples. [ONLINE] Available at: https://www.designyourway.net/blog/design/editorial-design/. [Accessed 14 February 2019].

Changing Faces – Deconstructing “The Class Pay Gap – Why It Pays To Be Privileged”

To kick off the Changing Faces brief, I deconstructed an article that resonated with my own interests and beliefs. Written by Sam Friedman and Daniel Laurison, the article examines the idea of the class ceiling, and how privilege can affect one’s progression through a career. The article argues that whilst privilege can act as a strong “following wind” for one’s progression within a career, it is often how one’s merits are received by sponsors from colleagues higher up in the career that determine their success – though ultimately, the acknowledgement of merit can highly depend on one’s privilege or similarity to their sponsor. It’s also worth noting that privilege’s effect on merit can be determined by the industry – the article examines several different careers and finds that privilege strongly aids an individual in accountancy, where higher class white men make up the majority, but not so much in television, which values a more informal and humorous individual.

A full annotation and deconstruction of the article can be read here: The Class Pay Gap – Why It Pays To Be Privileged

With a sound idea of the argument the article is putting forward, I took the opportunity to identify a target audience for my visual representation of this article before moving onto further research. I’d argue that the overall purpose of the article is to raise awareness of the class ceiling concept and how privilege affects success within a career, and thus, a primary target audience would be those ignorant to the concept (likely those who are affected by it without realising – the upper class). This gives me a general idea as to what direction I should take my later designs in – if designing to persuade the upper class, I should focus on a more formal approach, with a strong symmetrical layout and grid system and using serif text instead of sans serif.

Changing Faces – Type Detailing and Layout (Editorial Design Workshop)

In today’s session we examined key principles of editorial design and how a piece of editorial can be successful through its use of clear communication and story-telling that’s made possible with secure grid systems, consistent design, contextual pacing and a strong visual hierarchy. We took part in a one-day workshop where, in groups of 4, we were given a topic and had to create four double-page spreads using the editorial skills we had learnt so far, considering the above principles. This workshop was done in preparation for our Changing Faces brief that would ask us each to design three double-page editorial spreads.

The topic my group was given was the relevancy of wallpaper, and whether it was still a common feature within modern interior design. The article I visualised was courtesy of The Washington Post. This task was completed using InDesign.

My first step to approach this design task was to create a grid system. Due to the rough nature of the task and time constraints I settled with a simple three-column system on both pages, resulting in six columns across the spread.

Following this, I began working on some type detailing. I displayed the headline and subheading across all three columns with a larger pt. size (31 and 51) to draw attention to it, contrasting white against black to make it stand out further. The subheading also dominated these spaces but used a smaller pt size (15). The body text, which was a segment from the article, used a sensible 9 pt. size. I decided to experiment a bit here and instead of displaying the text across all three columns, I left room for some imagery on the first column and displayed the text across the next two. I justified the text here to reduce rags, making the text more uniform with the columns yet still perfectly readable. I decided the second page should be more visual and opted to not include any body text whatsoever, instead using imagery and headline text in the form of a quote which I feel was simple yet effective. Upon reflection, I think a drop cap at the start of this body text would have added flair to the design and improved its overall look, and some of the paragraph and line spacing could have been altered to increase the ease of readability. Tracking could have also been used to spread the text a little more in favour of the overall article, but all of these things are things I will take into consideration when working on my Changing Faces piece.

Above are all four pages from our group displayed in a printed format. What was immediate upon first glance was the lack of consistency in our designs which was an important principle of editorial design. We agreed that this was probably due to the nature of four different people working on the piece, all of us with different design styles, and agreed that in future we would need to work harder on communication. We felt our pacing within these pieces was quite strong, however, and reading from page to page felt enjoyable as opposed to a task. A few comments were made on my page about how busy it was, using minimal white space which overall reduced its effectiveness – which I completely agree with.

Reflecting on this workshop has proven very useful in preparing for my Changing Faces task, allowing me to identify my strengths and weaknesses within editorial design. I’m happy with my type detailing, but not so content with my overall visual hierarchy. I will need to focus more closely on the use of white space and aim to create a piece that is more balanced, perhaps by using more columns and experimenting with different grid systems.

SOURCE:

Buerger, M. 2017. Wallpaper is making a big comeback Here’s how to choose, use and remove. [Online]. [11 February 2019]. Available from: https://www.washingtonpost.com/lifestyle/home/wallpaper-is-making-a-big-comeback-heres-how-to-choose-use-and-remove/2017/02/28/c9b2eb40-f88a-11e6-9845-576c69081518

‘Punkism’ – Developing the Video Advert

To create the video advert, I used Adobe Premiere Pro in conjunction with Photoshop and After Effects. Premiere Pro allowed me to collect all of my frames and clips together and put them on a timeline, Photoshop allowed me to create almost all of the frames and slogans featured within the video, and After Effects provided me with the tools to create the animated punk overlays within the video.

I began approaching the video advert by deciding to focus on the animated punk overlays. This process began with Photoshop, creating still frames of pop and punk musicians to be later animated in After Effects.

To create a lo-fi effect on these frames, I added a soft noise effect to each of the musicians and lowered their saturation, washing them out in order to be consistent with punk visuals. After these were created, I imported them each into their own composition within After Effects and set about animating overlays.

Bieb

I used a similar Photoshop brush to the one used within my earlier poster design to create this effect. To animate it, I used After Effects’ pen tool to create a mask outside of the brush stroke, then keyframed it across the brushstroke to reveal it – in effect, creating a linear wipe transition. This process was used again on the following frames, though with slightly different graphics involved:

SwiftSheeranSella

I then began to work on the advert’s typographical pieces, namely the slogans that would be cut between each of the animated musicians. Using Photoshop, my goal was to create frames that would reflect the nature of the quotes whilst remaining consistent with the animated musicians:

These slogans had to embody the movement as much as the animated musicians did, and so to do that, I knew I had to incorporate more punk graphics within them. Using the Permanent Marker typeface previously used that I felt pushed this visual style very well, I created the slogans and made a small background for them out of the paper material used in the background. Applying a drop shadow to these backgrounds created a nice three-dimensional effect that created the illusion these slogans had been cut out and stuck on top of an existing page. I aimed for consistency with colouration and style within the graphics present on these frames, settling for a bold red that contrasted nicely with the black and white typographical elements and the stained background. These graphics were crafted with a spray-paint Photoshop brush to appear graffiti-like, which emphasised that lo-fi style I was aiming for. I wanted the final slogan, “Be More Punk.”, to stand out from the rest as it was the one that underpinned the entirety of the movement, and ultimately, embodied it the most. I had a few ideas about how to do this, considering scale, typeface and colour, but eventually found that simply inverting the colours worked the best – changing black text to white and the white background to black.

I also decided to animate the final slogan in order to make it stand out more. This was done in After Effects, using a Typewriter effect preset on the text.

Be More Punk

For the final typographical piece, I wanted to create a final call-to-arms for the movement. This would also be animated and make up the final frames of the video. I approached this process by using the décollage technique of using a mix of typefaces, all different shapes and sizes, to create a ‘logo’ of sorts for the movement. This was to be accompanied by another small tagline that would act as a call-to-arms. To achieve this effect, I simply placed each letter in one by one, saving as I went along, before putting them all together within Premiere Pro at a rapid pace to create what is seen below:

Punkism Title

With all typographic and image frames complete, I began putting them together within Premiere Pro. I was aiming for a advert no longer than a minute, so I kept this in mind when selecting an audio track to accompany the piece. I was aiming for a fast, powerful punk rock track that would emphasise the punk elements within the piece. The search took some time but I eventually settled on the track ‘White On White’ by FIDLAR.

Premiere Timeline

I cut the typographical frames in-between each of the animated musician frames and attempted to match it to the music track, which created a rapid pacing, suitable for a punk-themed video.

With the main body of the advert completed and set up accordingly, there were still a few more smaller effects I wanted to add to the piece to increase its lo-fi style and further embody the movement. I began these finishing touches by creating an opening and closing transition for the piece as planned within my storyboard – an effect that replicates that of a static television being turned on and off.

Static

This was created by adding the noise effect within Premiere Pro to a black background and animated using keyframes. The illusion of it turning on was created by adjusting the scale width and height properties, starting off small, and keyframing them to increase in size.

I also added a film-grain overlay to the advert to make the video look worn, further embodying punk graphics. This was done using free stock footage from #OurConnections. (https://www.youtube.com/watch?v=J_MZb7qTenE)

Finally, to complete the illusion of a worn video, I equalised the music track within Audacity to create a more muffled sound, similar to what you would hear on older TV adverts before sound quality was the quality it was today.

With all elements completed and ready, I exported the video as an .mp4 at 29.97fps in 1080p.


‘Punkism’ – Developing Initial Ideas

With a solid amount of initial research complete, I began working on the digital piece of promotional material that would be my response to the Movement brief. As a recap, the piece must promote, embody and explain ‘Punkism’, and it must move in some way.

I decided to begin some initial ideas with a moodboard – however, this quickly developed into a piece of work on its own, and turned into a poster format. The goal of this moodboard was to visualise the punk elements I had uncovered within my research so far, as well as experiment with some slogans and typography.

I began by creating an A3 Portrait document in Adobe Photoshop, with a CMYK colour range and 300ppi suitable for print.


Using a paper texture background, I began by inserting an image of a pop musician as the main focus of the composition.


Copying and shrinking the paper texture, I changed its blending mode to multiply and filled it with a different colour to create a more distinct background texture. I added two more pop musicians here and gave them a white stroke outline and created a noise effect to reflect the gritty aesthetics of punk. Furthermore, using Photoshop brushes, I added some punk-style overlays to the popstars to embody the nature of the movement, reminiscent of D.I.Y lo-fi posters.


I began working with some typographical elements here, looking at several different typefaces that I could use – but eventually settled with the handwritten-style typeface Permanent Marker. This choice, I feel, best represents the nature of the movement, thus embodying it. I used this font for both the main title/slogan – Death To Pop – and the subtitular text, the call to action – Save Music, Be More Punk.


To further embody the movement, I added a couple of anarchy symbols to the piece. These symbols feature heavily within punk culture and are instantly recognisable within the context of the poster. Furthermore, I began working with some slogans here – settling with slogans such as “Support Smaller Artists” and “Creativity Is Being Suffocated”. These were inspired by the interviews I watched within my initial research, and explain the core ideas of my ideological movement.

Death To Pop Poster

The finishing touch to the poster was an overlay – using the same paper texture as the background, changing its blending mode to multiply and lowering the opacity rendered an even more lo-fi, gritty aesthetic that would be attributed to punk-themed posters.

Overall, I feel as though this moodboard/poster is successful in promoting, embodying and explaining my movement through its overall composition, use of slogans and its context as a poster. Whilst not an animated piece, this has served to inspire me further within idea generation and development, and has given me a strong sense of which direction I should take my digital piece of movement in.

My next goal was to decide on which medium to use for the digital piece. I was considering creating a web banner based around my poster, an animated .gif that would rest on a webpage advertising the movement, but eventually decided to challenge myself by creating a full video advert that would play on social media platforms or music channels. Ideally, I was aiming for it to be 30 seconds to a minute in length.

I generated ideas for this concept by creating two storyboards.

Storyboard Landscape

Reflecting back upon this storyboard, I wasn’t too happy with the contrast between titular frames and the video clips I was using. Whilst this video advert would promote and explain the ideology, it would not embody it because of a lack of consistency with the use of punk graphics. It was these thoughts that led me onto creating my second and final storyboard:

Storyboard #2

I feel as though this storyboard embodies the nature of the ideology far better through its consistent use of punk graphics, as well as making room for more slogans and call-to-arms. The ‘logo’ of the ideology is also further improved through its use of décollage, reflective of early punk graphics.

With this storyboard complete, I moved onto developing the video advert.

‘Punkism’ – Examining Graphics Within Punk Culture

Punkism Logo

With a good sense of the direction I wanted to take my ideological movement in, I started researching visual elements of punk culture, and how I could incorporate that within my piece of movement. I began by examining the work of Jamie Reid, a graphic artist associated with punk culture who developed pieces for English punk band The Sex Pistols amongst other works.

Jamie Reid. Sex Pistols, Anarchy in the UK. 1976

Jamie Reid. Sex Pistols, Anarchy in the UK. 1976.
© 2018 Jamie Reid Courtesy Isis Gallery, UK

Jamie Reid uses a technique known as décollage, which is a method of cutting out existing graphics and sticking them together in a collage format. In the above poster for The Sex Pistols‘ first single, Anarchy in the U.K., Reid uses typographical elements that are sans serif yet varied in scale and weighting to emphasise the ransom-note effect, and Reid combines this with the torn U.K. flag and safety pin imagery to create a distorted, gritty image suitable for punk graphics. Reid’s use of décollage and its strong presence in punk graphics is a factor I’m taking into account when developing some ideas, and is something I’d ideally use within my digital piece of movement.

Jamie Reid, John Varnom. Sex Pistols, Never Mind The Bollocks, Here’s The Sex Pistols. 1977.
© 2018 Jamie Reid Courtesy Isis Gallery, UK


I experimented a little with the décollage technique and how I could incorporate it within my piece as a movement, perhaps best used as a title on an animated banner, or an annotation within a video clip.

Decollage Typography

Digital Decollage Typography


Examining posters that advertised punk-themed music events also proved to be a valuable insight to punk graphics. These posters feature a very limited and washed out colour palette, incorporating a similar décollage technique that Reid uses, and overall, the composition is very D.I.Y in style. These features are something I’m going to consider when developing my piece of movement, perhaps by using colour correction to wash out saturated colours, and using overlays to add grit and texture to the piece.

The Clash004deadkensoloman-700x475

Source: Reveron, S. 2015. CVLT Nation. [Online]. [Accessed 8 November 2018]. Available from: https://www.cvltnation.com/diy-dadaism-when-80s-punk-posters-and-flyers-ruled/

Before moving on to develop some ideas, I decided to take a look at some interviews with musicians and members of punk culture that spoke out against the pop music industry to get a sense of what others who share my views had to say on the topic. This was done primarily to get a sense of some slogans or mottos I could use to advertise and promote my movement within my digital piece.

‘Punkism’ – Establishing An Invented Ideological Movement

Punkism Logo

The brief for the Movement project was to invent a new ideological movement and create digital material that promotes, embodies and explains that movement. The only constraints were that the ideology must not exist, and that the digital material must be a piece  of movement – such as an animation or video clip.

I began approaching this brief by considering my own interests and beliefs – things that I would want changing in the world – in order to establish my own ideology. I was very quickly drawn to ideas situated around music, and more specifically so, the pop music industry; an industry whose practises and attitude towards music in general clash with my own. I’ve always seen the pop music industry as something that is purely focused on generating money – manufacturing music for profit, using the same recycled sounds and themes over and over again, essentially taking the heart and personality out of music. Music, like all art, is a platform for creative expression – and I feel as though the pop music industry is destroying and limiting this through its attitude. On the other hand, punk culture and music has always sought to rebel against this and put creativity and personality back into music, straying away from the norms. It was from these thoughts that I ended up on the idea of ‘Punkism’ – a movement dedicated to rebelling against the practises of the pop music industry and encouraging others to be a little more punk.

I created a mind-map in order to explore this concept further and give clarity to the movement, considering its intent, target audience, branding methods and processes of development.

Moodboard

Design a site like this with WordPress.com
Get started